警告
本文最后更新于 2018-11-03,文中内容可能已过时。
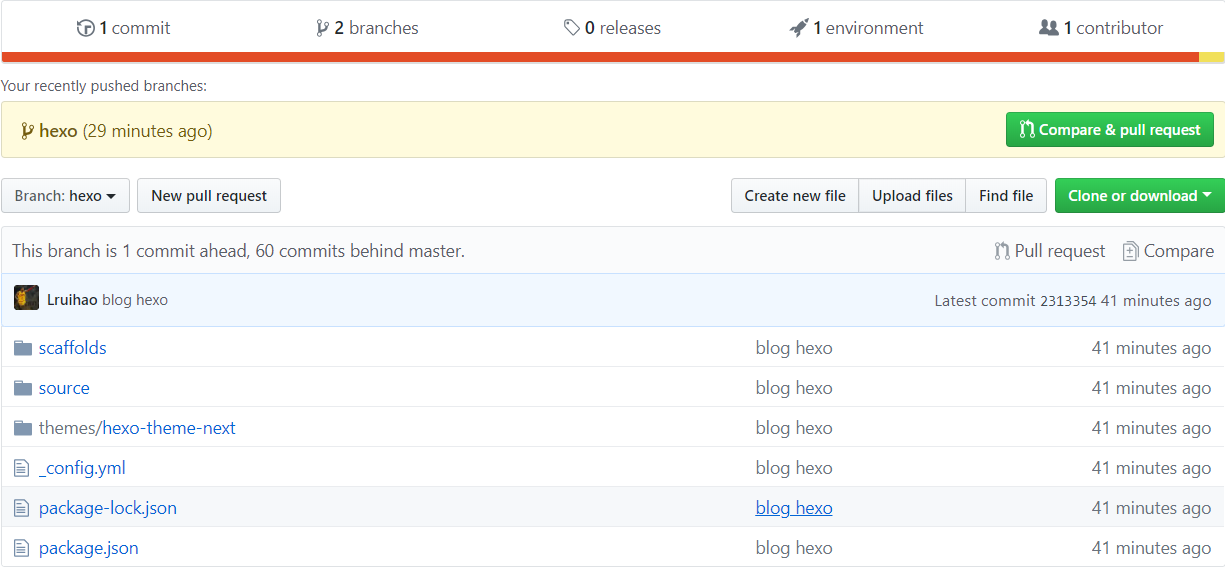
1 备份 hexo 博客
1
2
3
4
5
6
7
8
9
| //如果 themes/next(主题文件)下面有。git,请删除这个。git 文件夹。
cd hexo
git init //初始化本地仓库
git add source themes scaffolds _config.yml package.json package-lock.json //将必要的文件依次添加
git commit -m "blog hexo"
git branch hexo //新建 hexo 分支
git checkout hexo //切换到 hexo 分支上
git remote add origin git@github.com:username/username.github.io.git //将本地与 Github 项目对接
git push origin hexo //push 到 Github 项目的 hexo 分支上
|
2 在其他终端克隆和更新 hexo 博客
nodejs,git,hexo 已经安装好,即搭建完成
2.1 克隆 hexo 博客备份
1
2
3
| git clone -b hexo git@github.com:username/username.github.io.git //将 Github 中 hexo 分支 clone 到本地
cd user.github.io
npm install //注意,这里一定要切换到刚刚 clone 的文件夹内执行,安装必要的所需组件,不用再 init
|
这样我们的备份文件就会原封不动的拷贝到本地。
2.2 写新文章并备份和部署(备用操作)
其实源码拷下来了,这步不做我们也知道怎么做了,完全没必要按照教程死搬硬套。灵活一点就行了。
1
2
3
4
5
6
7
| //进入 username.github.io 文件夹,应是 hexo 分支
git pull origin hexo //本地和远端的融合
hexo new post "new post name" //写新文章
git add source
git commit -m "xxx"
git push origin hexo //备份
hexo d -g //部署
|
参考
 支付宝
支付宝 微信
微信